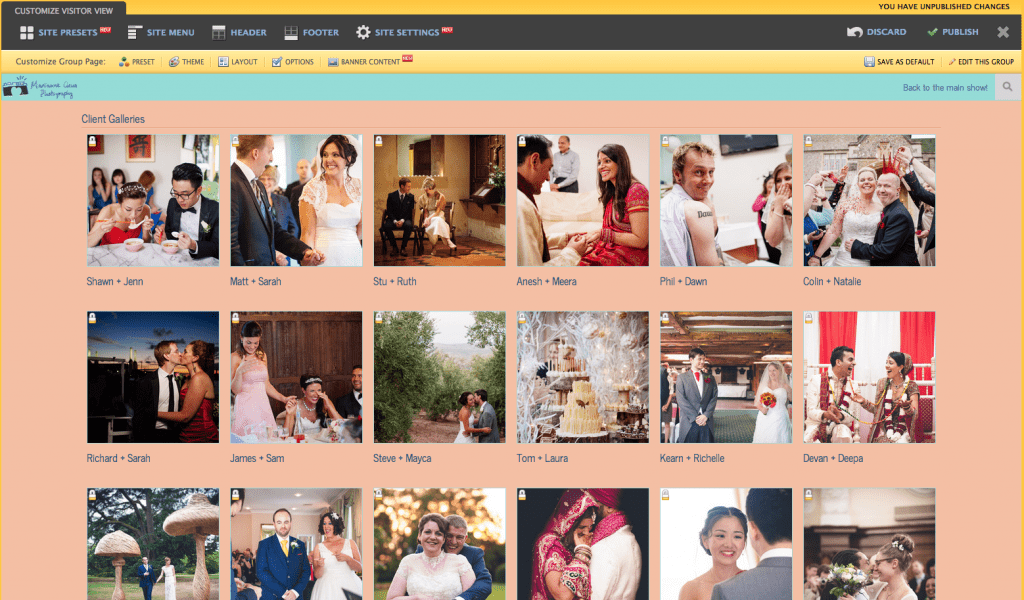
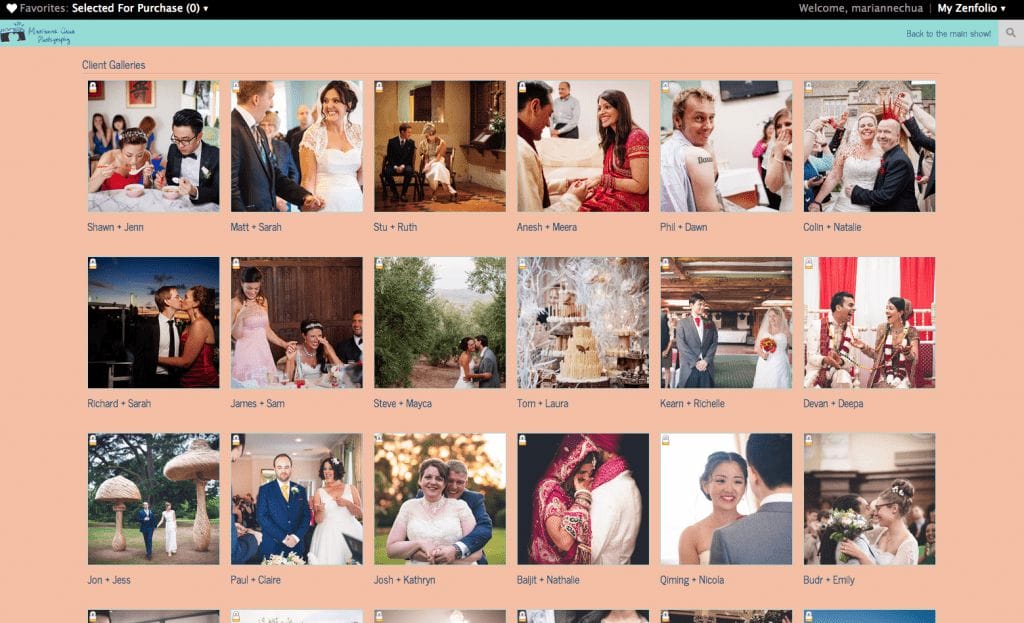
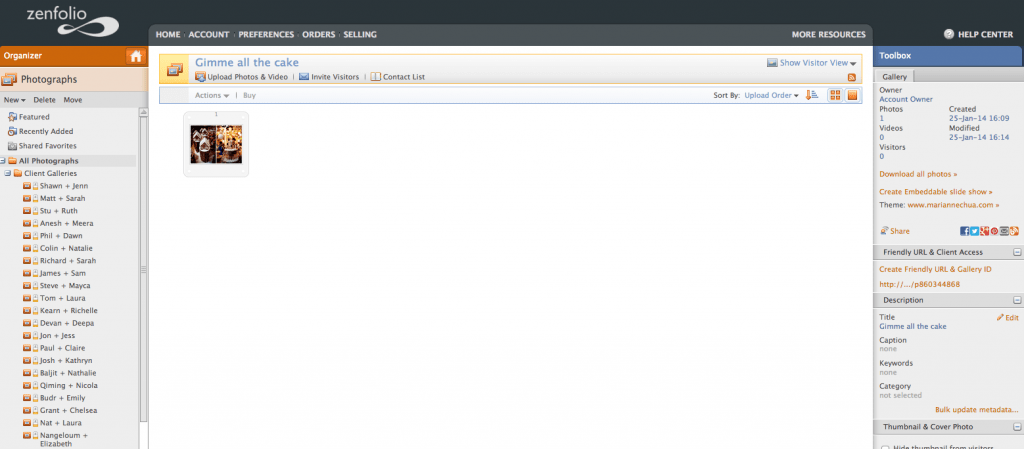
I’ve decided to make a blog post quickly demonstrating how to set up a client galleries landing page and passworded galleries that double up as your shop in Zenfolio, as I’ve seen quite a few confused photographers asking for help. Zenfolio provides both the option to have direct client access galleries and a galleries landing page. A galleries landing page looks like this:
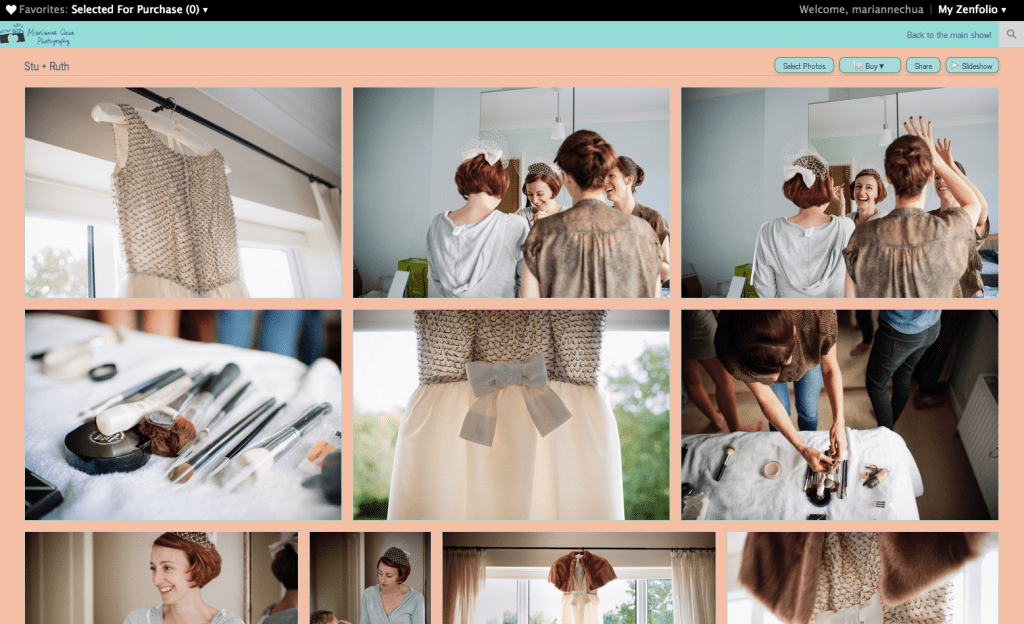
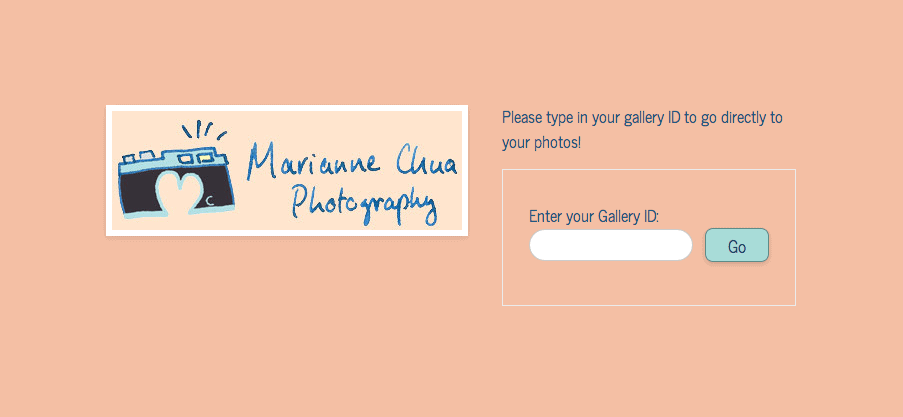
Whilst the Client access page looks more like this:
The advantages of the landing page include:
1. New website visitors can see the scope and number of weddings that you’ve shot
2. Enquiring couples who want to see examples of full weddings can view several from one link.
If you want to set up your client galleries area so it looks like the first photo, here’s how!
Step 1.
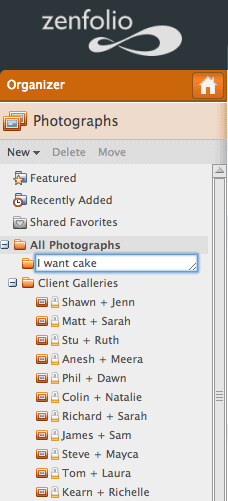
In the HOME view, right click on ‘all photographs’ under the photographs tab in the left hand side column. Click ‘new group’
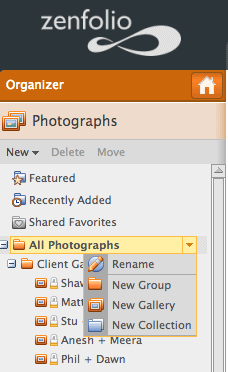
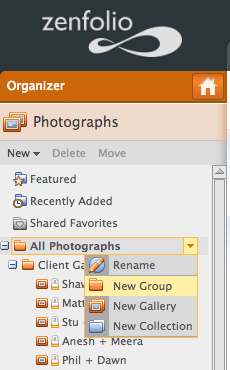
Step 2.
A little box will appear where you can name this new group whatever you want. Name it something smart like ‘client galleries’ or ‘proofing galleries’ etc. not ‘I want cake’.
Step 3.
In the middle, either automatically if you pressed enter or if you double click your new group, you will see the option to create a new gallery
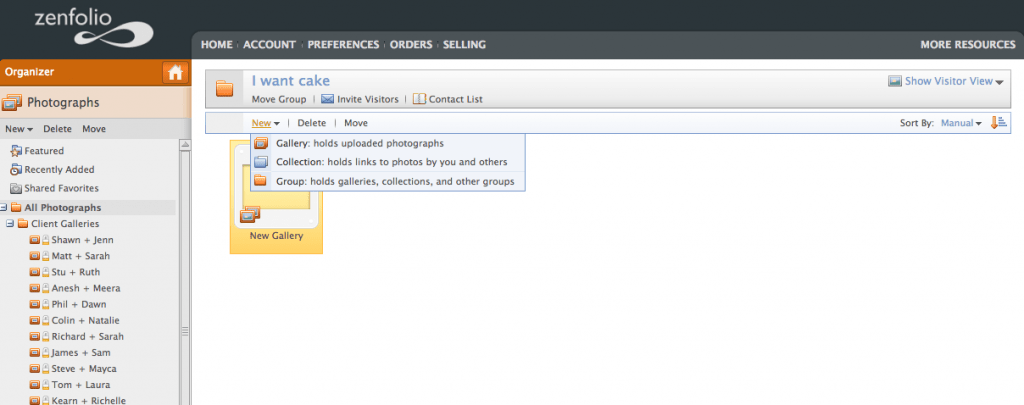
Step 4.
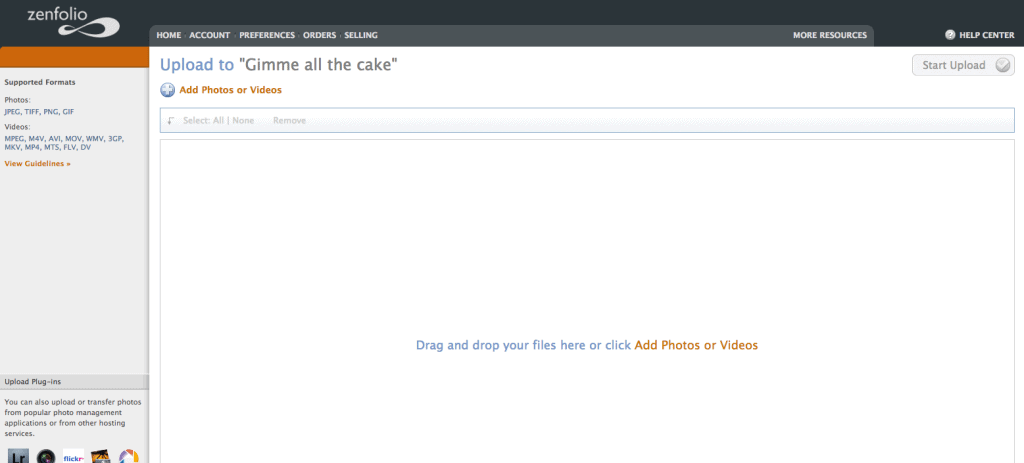
Double clicking on your new gallery, as highlighted in the yellow in step 4’s diagram will bring you to this page. I’ve put 4 screenshots in a row because I feel this step is pretty dang obvious. Click add photos-follow the on screen instructions etc. etc.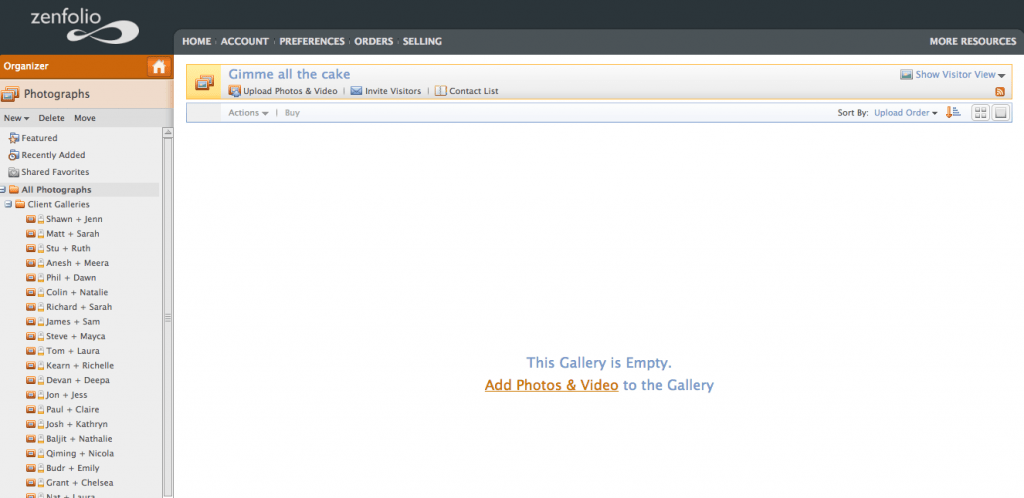

Step 5.
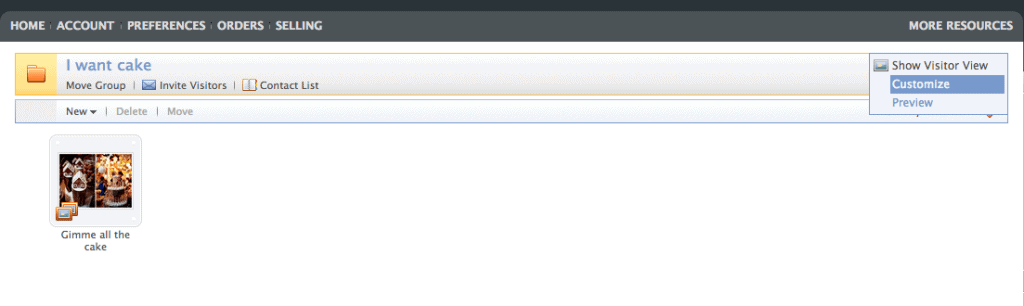
Here’s the bit where we get dicey. Go back to your left hand column and double click on your group I want cake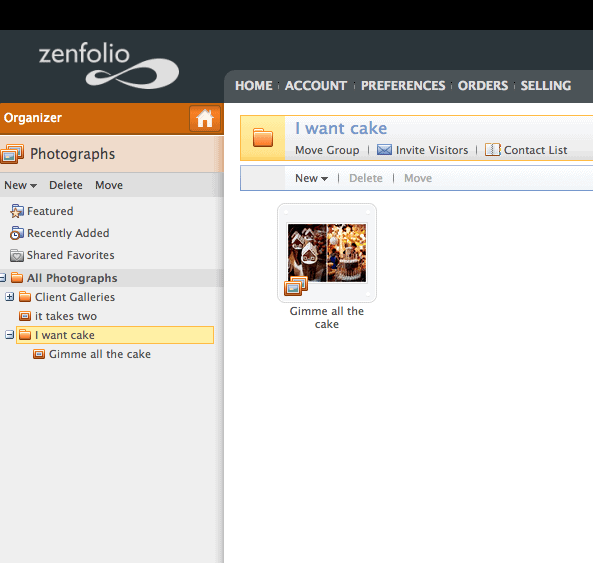
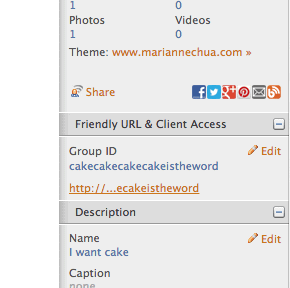
Step 6.
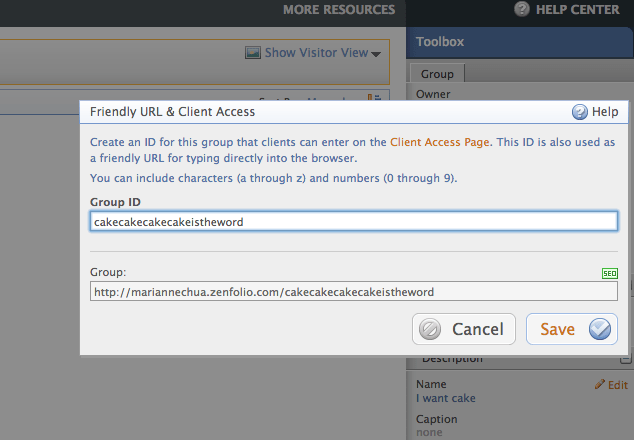
Then, when viewing this group, see that big ol’ circled thingy on the right hand side? Click on ‘Create Friendly URL & Group ID’. 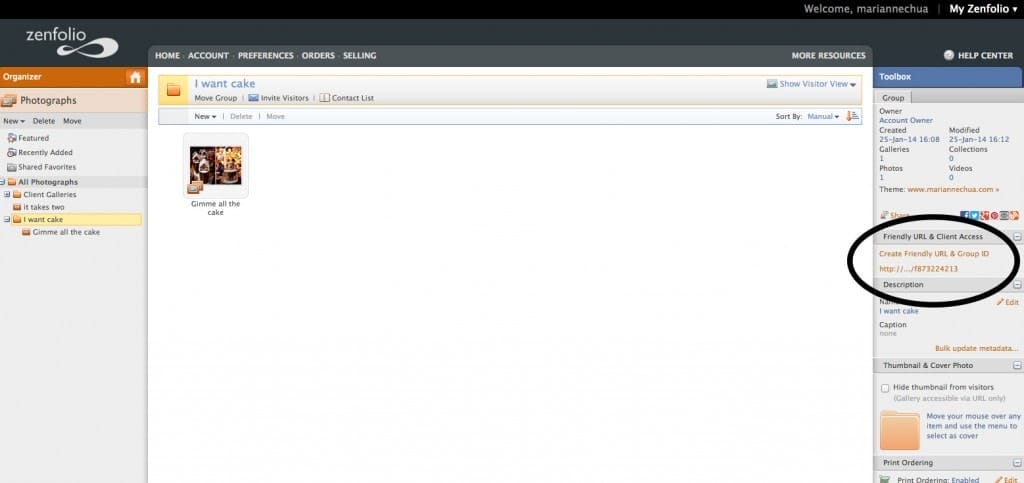
Now change it to a sensible URL that mimics an annoying song from Family Guy and press save.
In this screenshot you can see it has changed from random numbers and letters to whatever you saved it as. This will be the URL that you point to from your main website, this is the URL for your client galleries landing page. Really, this is THE URL! Click on that URL whenever you want to view it in full.
Step 7.
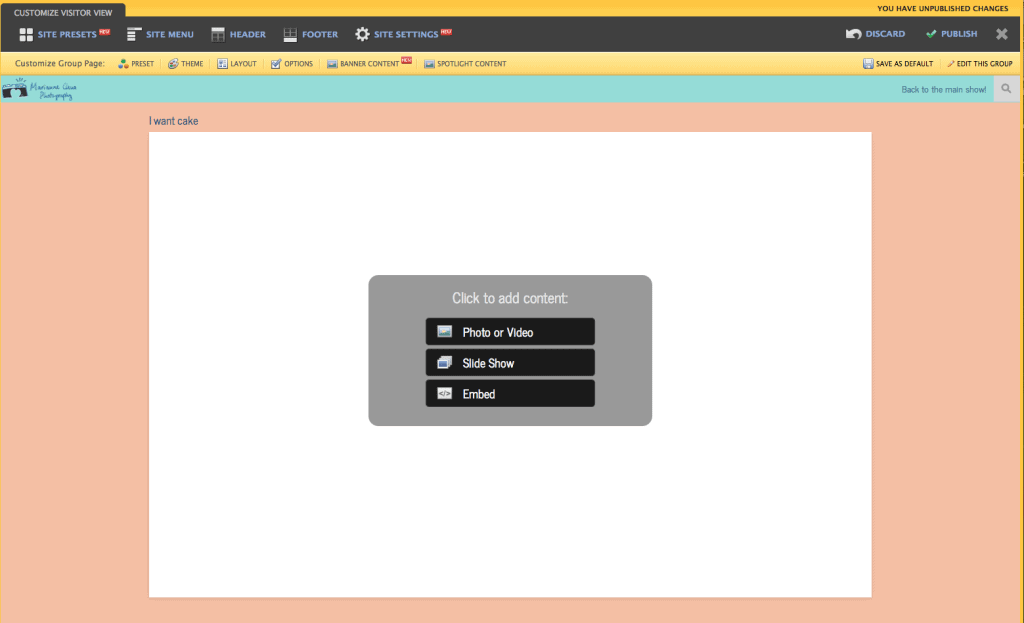
Click on ‘show visitor view’ in the middle section right hand side (just top left of the right hand column), and this will provide a drop down menu- click on customise
 Step 8.
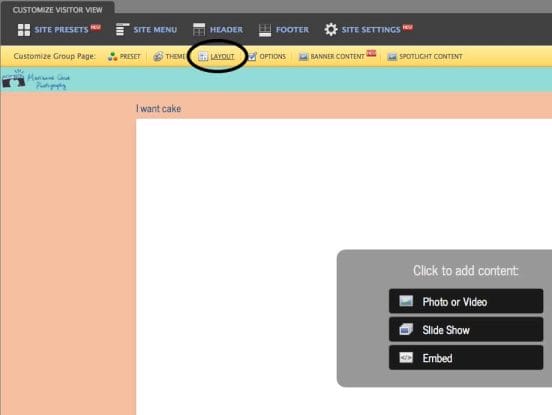
Here’s the second confusing step for many- people instantly start thinking ohhh let’s click the middle and add photos… when what you need to do is avoid the big thing in the centre and click on… layout. Obviously!
Step 9.
In layout, usually they auto select the ‘use default blah blah’, UNSELECT that to unlock changing the layout and make sure it’s on centred. Click apply and…
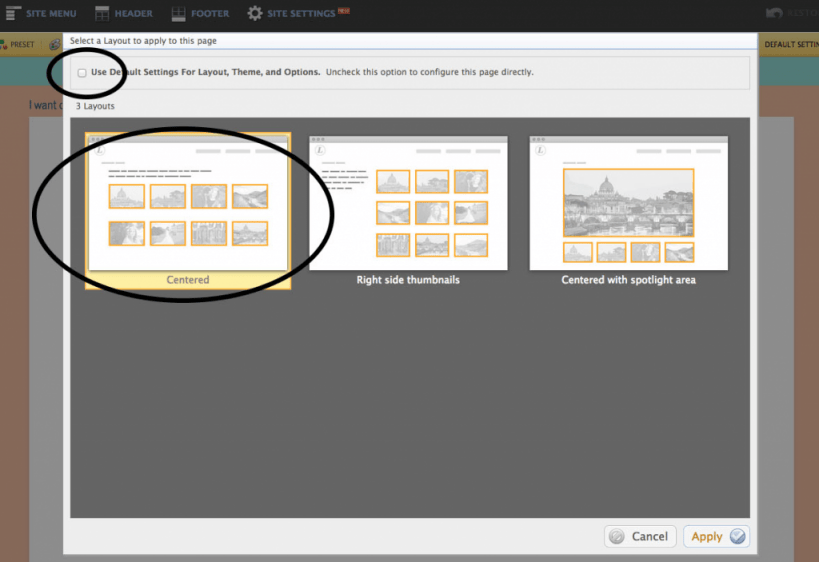
Taddaaaaa!!!
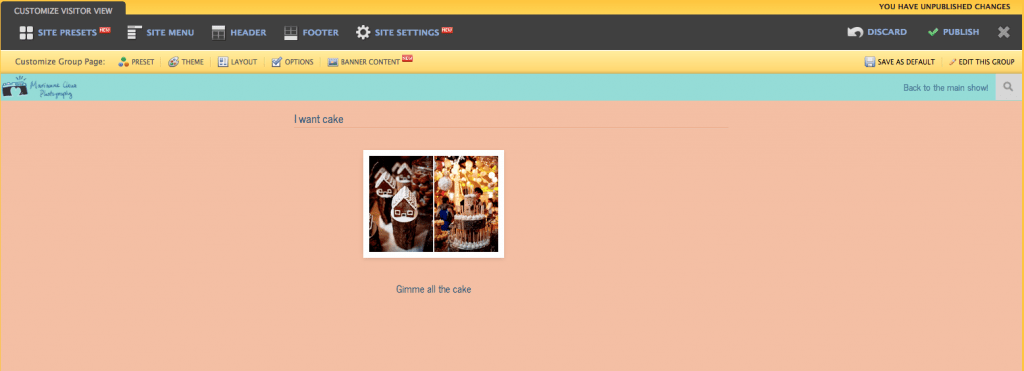
Now you see how it’s starting to look more like a client landing page, with your gallery name under each gallery thumbnail, and the title of your group as the title of the page.
Step 10.
Repeat steps 3 and 4. Every new gallery you add will appear on your group page a.k.a I want cake. Once you’ve got a few in there, click on the group URL, the one that I said was THE URL, and you’ll see how your client galleries appear to clients!
back end